
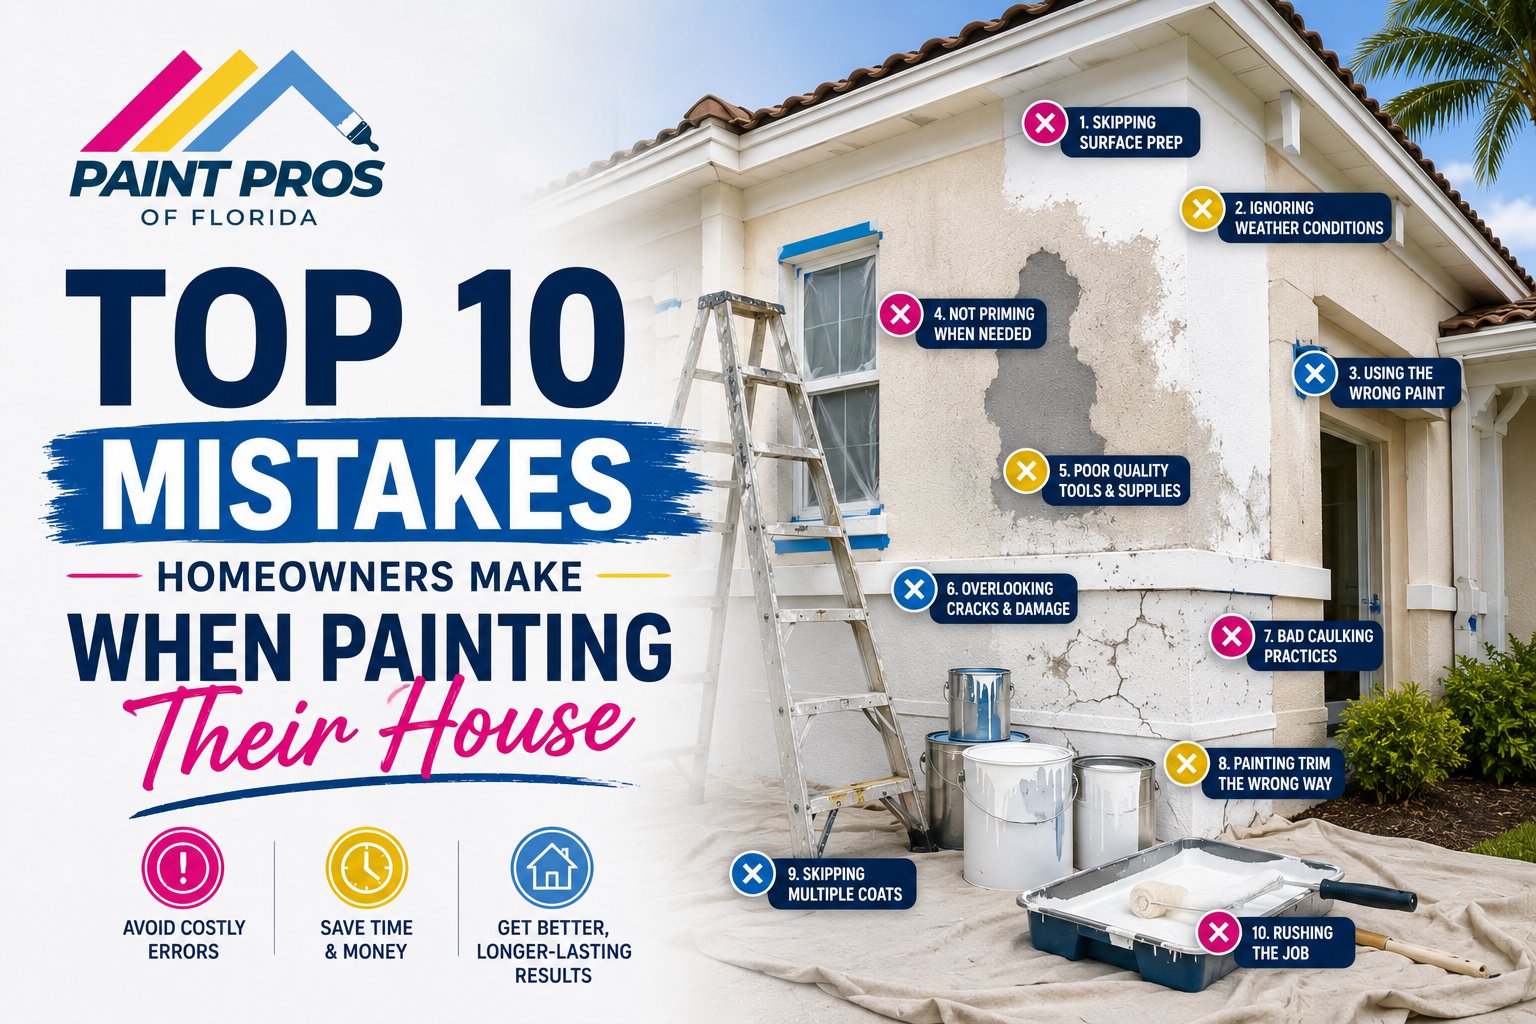

Every year, homeowners across Central Florida invest time and money into painting projects — and a significant number end up with results that fade, peel, or just look wrong within a season or two. Most of these failures trace back to the same handful of avoidable mistakes. Whether you’re tackling a DIY project or evaluating a contractor’s approach, knowing what goes wrong — and why — puts you in a much stronger position. Here are the ten most common painting mistakes Paint Pros of Florida sees in the field.
1. Skipping Surface Preparation
Prep is the most skipped step and the most consequential one. Paint is not a repair product — it’s a finish coat. Whatever condition the surface is in when the paint goes on is the condition it will stay in, just covered up. Cracks don’t disappear under paint. They telegraph through within weeks. Chalking surfaces don’t bond to new paint. They shed it.
A proper prep process includes pressure washing, scraping loose material, sanding rough edges, filling cracks and holes, and caulking all joints before a brush touches the wall. On Florida stucco especially, any efflorescence — the white mineral deposits that form when moisture migrates through block — must be treated with an alkali-resistant primer like Sherwin-Williams Loxon before topcoat application. Skipping this step guarantees premature failure regardless of how premium the finish coat is.
At Paint Pros of Florida, prep is identical across all project tiers. The product tier changes — the preparation standard never does.
💡 Pro Tip
Budget at least 40–50% of your total project time for prep. If a contractor’s quote seems fast or cheap, ask specifically what prep steps they include. Vague answers are a red flag.
2. Using the Wrong Paint for the Surface
Exterior paint on interior walls. Interior paint on exterior surfaces. Flat finish on high-traffic trim. These mismatches happen more often than you’d think — especially on DIY projects where product selection comes down to whatever’s on sale or already in the garage.
Every surface has a purpose-built product. Exterior formulas are engineered for UV resistance, moisture cycling, and temperature expansion — none of which matter indoors. Interior paints lack the fungicides and UV stabilizers needed to survive Florida’s outdoor conditions. Trim and doors need a hard enamel finish that resists blocking, scuffing, and repeated cleaning. Sherwin-Williams Emerald Urethane Trim Enamel is purpose-built for exactly that — it’s a different product category from wall paint, not just a different sheen level.
💡 Pro Tip
Always match the product to the substrate and exposure. Doors, trim, and shutters are a separate category from field walls — treat them that way with a dedicated trim enamel.
3. Painting in the Wrong Conditions
Florida’s climate creates a narrow window for ideal exterior painting. Painting in direct afternoon sun on a west-facing wall means the surface temperature can exceed 120°F — causing paint to dry too fast, leading to brush marks, poor adhesion, and uneven sheen. Painting during or just before rain traps moisture under the film. Painting when humidity is above 85% slows cure time and invites mildew growth in the wet film.
The right conditions for exterior painting in Central Florida: early morning start when surfaces are in shade, temperatures between 50°F and 90°F, humidity below 85%, and no rain in the forecast for at least 24 hours. On stucco, the surface should be dry for a minimum of 24 hours after any rainfall before painting begins.
💡 Pro Tip
Start on the shaded side of the house in the morning and follow the shade around the building through the day. Never apply paint to a surface that is hot to the touch.
4. Skipping Primer on New or Bare Surfaces
Primer is not optional on bare or repaired surfaces — it’s what creates the bond between the substrate and the finish coat. On new drywall, bare wood, patched stucco, or any surface that’s never been painted, skipping primer means the finish coat is absorbing unevenly into the substrate, leading to blotchy sheen, poor hide, and weak adhesion.
In Florida, the primer choice matters as much as the topcoat. Bare stucco and concrete require an alkali-resistant primer — standard drywall primers are not formulated to neutralize the pH of fresh concrete and will fail. Bare wood needs a penetrating primer that seals the grain before finish coats go on. Sherwin-Williams PrepRite ProBlock and Extreme Bond Primer handle the most challenging adhesion situations where standard primers fall short.
💡 Pro Tip
If you’re patching stucco or filling cracks before repainting, those repaired areas need spot-primed before the topcoat goes on — even if the rest of the wall doesn’t. Unprimed patches show through the finish as sheen differences.
5. Buying Cheap Paint to Save Money
The price difference between a builder-grade exterior paint and Sherwin-Williams Duration or Emerald is real — but so is the service life difference. In Florida’s climate, a budget exterior paint may begin showing UV degradation, chalking, and color fade within 3 to 4 years. A premium product on the same surface, properly applied, can hold for 7 to 10 years.
When you factor in labor — which is the largest cost in any paint project — the math on cheap paint falls apart quickly. If cheap paint lasts half as long, you’re paying labor costs twice as often. The paint itself is rarely the biggest line item. Skimping on it to save a few hundred dollars on a multi-thousand dollar project is one of the most common and costly decisions homeowners make.
💡 Pro Tip
Think of paint quality as a multiplier on your labor investment. The labor cost is fixed regardless of product. Better product means more years before you pay that labor cost again.
6. Not Caulking Before Painting
Caulk is the seal between your paint job and water intrusion. Every joint where two different materials meet — window frames against stucco, door casings, trim against siding, utility penetrations — is a potential water entry point. In Florida, where afternoon rain is a near-daily occurrence from June through September, failed or missing caulk is one of the fastest paths to paint failure and substrate damage.
The mistake isn’t just skipping caulk entirely — it’s also applying new caulk over old failed caulk without removing it first. Caulk-over-caulk creates a surface bond that lasts months, not years. The correct process is to remove all failed caulk, clean the joint, and apply fresh sealant before any paint goes on. Use a paintable siliconized acrylic caulk rated for exterior use — not silicone-only, which paint won’t adhere to.
💡 Pro Tip
Walk every window and door frame before painting. Press your finger into each caulk joint — if it’s hard, cracked, or pulls away from the surface, it needs to be replaced before paint goes on.
7. Choosing the Wrong Sheen Level
Sheen affects not just how a surface looks, but how it performs. Flat and matte finishes hide surface imperfections well but are difficult to clean and trap moisture — a poor choice for bathrooms, kitchens, or high-traffic hallways. High-gloss finishes are extremely durable and washable but amplify every surface flaw underneath.
For Florida exteriors, a satin or low-sheen finish is typically the right balance — enough sheen to resist moisture and clean easily, not so much that it highlights every stucco texture irregularity. For interior rooms, the rule is simple: higher traffic and moisture exposure means higher sheen. Bedrooms can go flat or matte. Kitchens, bathrooms, trim, and doors should always be satin, semi-gloss, or gloss.
💡 Pro Tip
A common mistake is using flat paint in a bathroom to match the bedroom next door. Moisture from showers will cause flat paint to stain and peel within months. Always step up the sheen in wet areas.
8. Rushing Dry Time Between Applications
Paint needs time to cure between applications — not just dry to the touch. Applying a second application before the first has fully cured traps solvents in the film, which can cause wrinkling, poor adhesion between layers, and long-term softness in the finish.
In Florida’s humidity, cure times extend beyond what the can label states under ideal conditions. High humidity slows solvent evaporation, meaning a product rated for a 4-hour recoat window under 50% humidity may need 6 to 8 hours at 80% humidity. Rushing this step to finish a project in one day is one of the most common causes of early finish failure on DIY projects.
💡 Pro Tip
In Florida’s summer humidity, add 25–50% to any recoat window listed on the label. If the surface feels even slightly tacky, it is not ready. Tacky means the film is still moving — applying over it traps that movement.
9. Ignoring Mildew Before Painting Over It
Mildew on exterior stucco or interior bathroom walls is a living organism. Painting over it without treating it first doesn’t kill it — it seals it under the film where it continues to grow, eventually pushing the paint off the surface from underneath. The staining returns faster than it appeared the first time, and now you have a paint adhesion problem on top of a biological growth problem.
The correct process: treat all mildew-affected surfaces with a diluted bleach solution or commercial mildewcide cleaner, allow to fully dry, then prime and paint. For recurring mildew problems in bathrooms, the fix is a combination of better ventilation, a mildew-resistant interior paint, and higher sheen. For exterior surfaces in Florida, Sherwin-Williams Duration and Emerald Rain Refresh both include built-in mildewcide that significantly slows regrowth after the surface is properly cleaned and prepped first.
💡 Pro Tip
To tell the difference between mildew and dirt: apply a drop of household bleach to the stain. If it lightens within a minute, it’s mildew. If it doesn’t change, it’s dirt. The treatment process is different for each.
10. Hiring Based on Price Alone
The lowest bid is almost never the best value in painting. Low bids usually mean something is being cut — prep time, product quality, crew experience, or warranty coverage. In Florida’s demanding climate, those cuts show up fast. A paint job that fails in two years and needs to be redone costs far more than the premium job that lasts eight.
When evaluating contractors, look for a written workmanship warranty, specific product names on the estimate, a clear description of prep steps, and a contractor who can explain their process without vague generalities. Paint Pros of Florida backs every project with a 36-month workmanship warranty and uses Sherwin-Williams exclusively — because the product and the process are what the warranty is built on.
💡 Pro Tip
Ask every contractor for their warranty in writing before you sign anything. A verbal warranty is worth nothing. A written 36-month workmanship warranty means the contractor is confident enough in their work to back it legally.
Most painting mistakes are not about technique — they are about preparation, product selection, and patience. Getting those three things right is the difference between a result that holds up in Florida’s climate for nearly a decade and one that’s showing failure signs before the first rainy season ends. If you’re planning a project and want to make sure it’s done right the first time, that’s exactly what Paint Pros of Florida is here for.
Ready to Get a Professional Estimate?
Paint Pros of Florida serves Lakeland, Davenport, Kissimmee, Haines City, Clermont, Winter Haven, and surrounding Central Florida areas.
Or call us directly: (407) 326-0044